Ok so here is my tutorial for my newest work Back at Sea! So sit back and learn how to create it.
Step (1) Get all the stock images that you would like to use.
Step (2) Start and erase this part of the image.
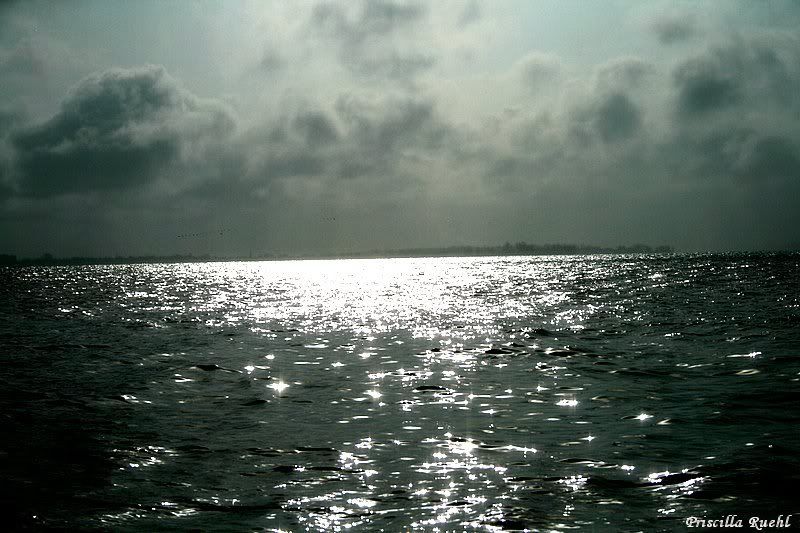
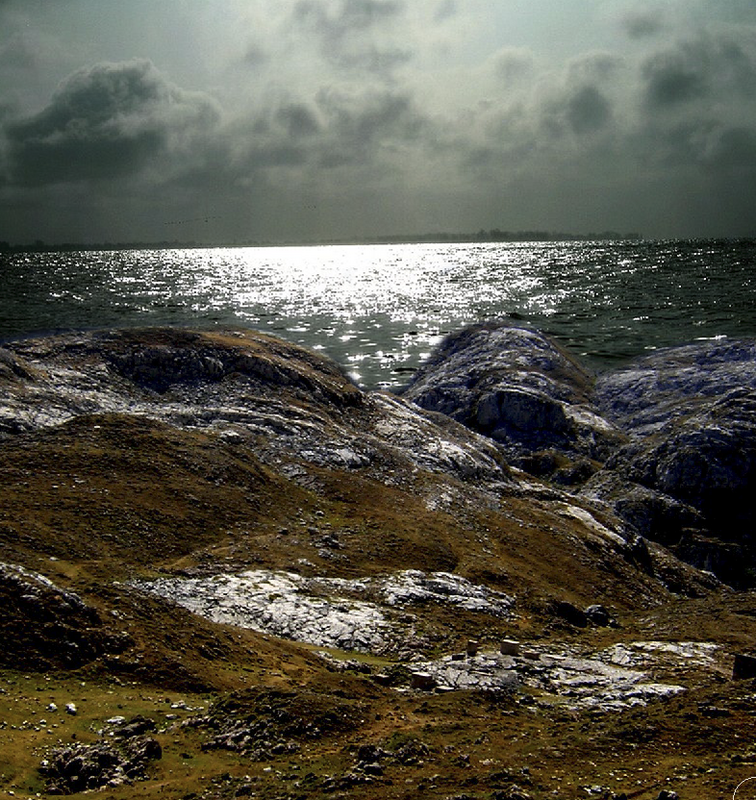
Step (3) When you are done with that place you sea in the background like so.
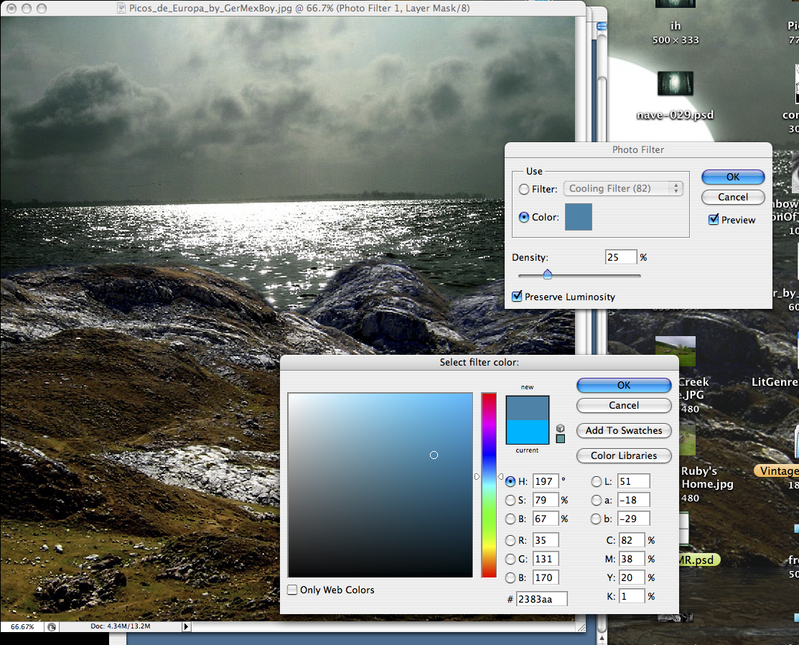
Step (4) Now that you have that done try changing the light on the front rocks with Photo Filter, and also Brightness and Contrast.
Then click OK.
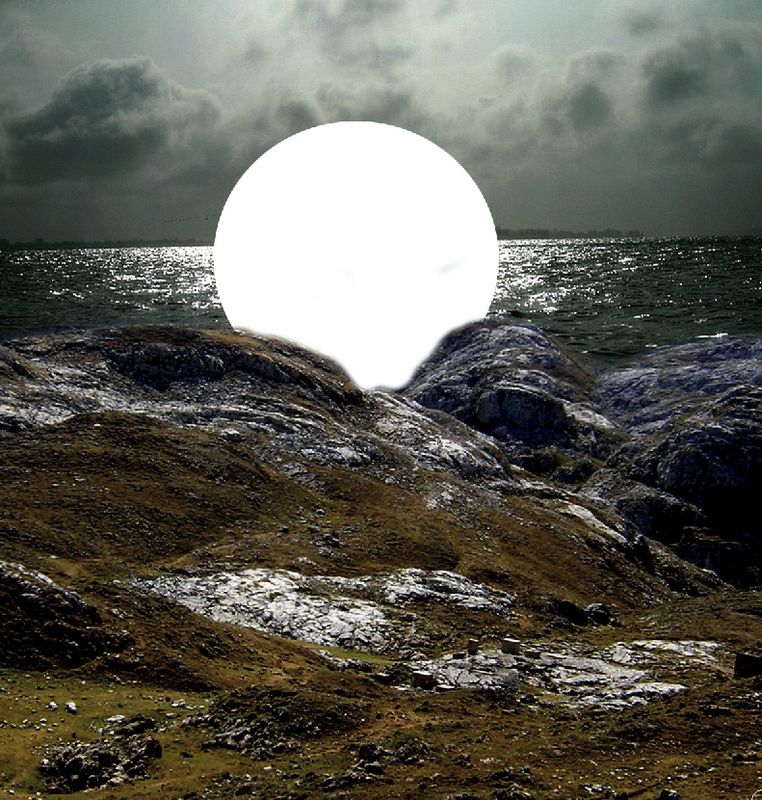
Step (5) Make a new layer. Now we create the moon! Get the Cercal Tool at the top and make a cercal.
(back to pre school) Now make it white.
Step (6) Erase the moon now to the horizon line. Now put a Outer Glow on it.
Step (7) Now for the ship! The ship is a brush witch you can get here. Make a new layer and put the ship right over the moon.
Bonus Part: ok so here is something you can add with Flaming Pear. I use the Flood filter. As you can see!
So there it is my short tutorial so I hope you enjoyed it!
Tutorial by Dylan White at www.dylanwhite.net
Lorelei has been an online entrepreneur, marketer and writer since 2006. Her biggest passion is WordPress, which is why she switched to being a full-time blogger 20 years ago and hasn’t looked back since. With so many years of experience behind her, she is an expert in copywriting, SEO, marketing and business strategies.

 Step (2) Start and erase this part of the image.
Step (3) When you are done with that place you sea in the background like so.
Step (2) Start and erase this part of the image.
Step (3) When you are done with that place you sea in the background like so.
 Step (4) Now that you have that done try changing the light on the front rocks with Photo Filter, and also Brightness and Contrast.
Then click OK.
Step (4) Now that you have that done try changing the light on the front rocks with Photo Filter, and also Brightness and Contrast.
Then click OK.
 Step (5) Make a new layer. Now we create the moon! Get the Cercal Tool at the top and make a cercal.
 (back to pre school) Now make it white.
 Step (6) Erase the moon now to the horizon line. Now put a Outer Glow on it.
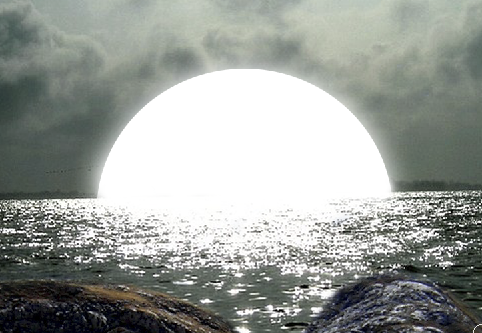 Step (7) Now for the ship! The ship is a brush witch you can get here. Make a new layer and put the ship right over the moon.
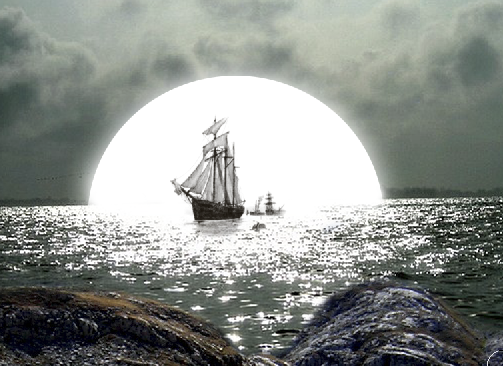 Bonus Part: ok so here is something you can add with Flaming Pear. I use the Flood filter. As you can see!
So there it is my short tutorial so I hope you enjoyed it!
Tutorial by Dylan White at www.dylanwhite.net
Bonus Part: ok so here is something you can add with Flaming Pear. I use the Flood filter. As you can see!
So there it is my short tutorial so I hope you enjoyed it!
Tutorial by Dylan White at www.dylanwhite.net

